

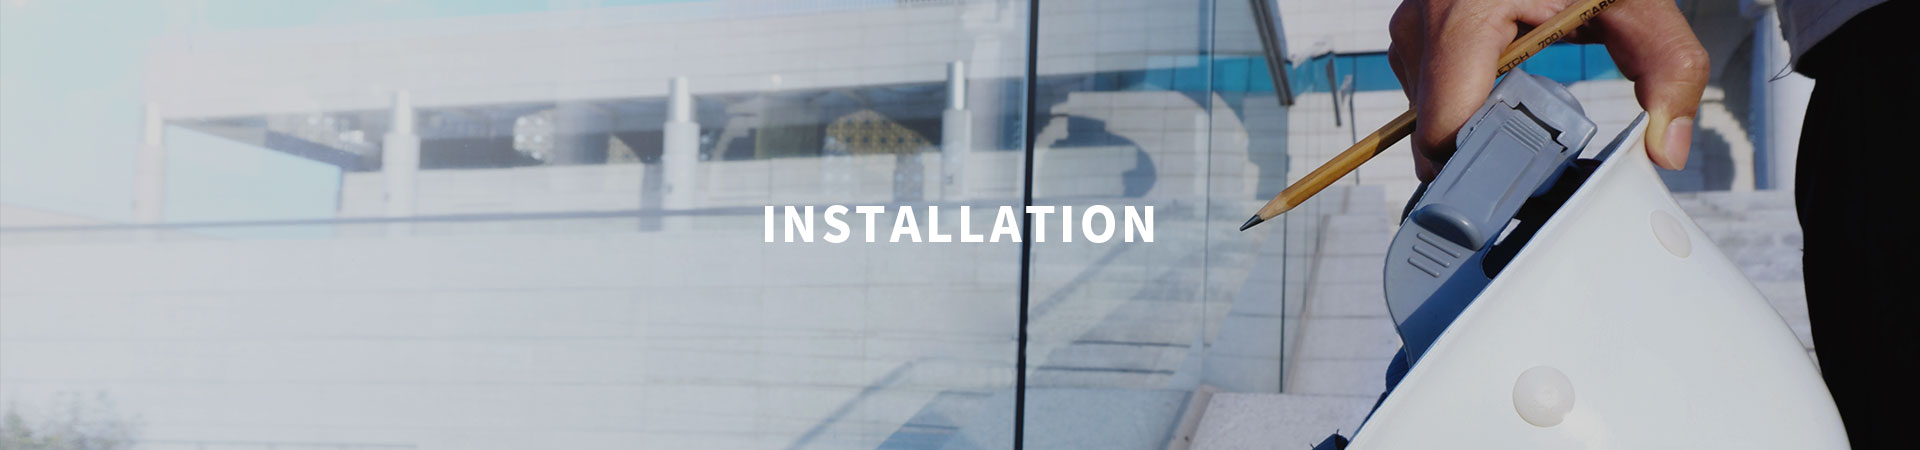
Installation for Stringer System
Raised Floor Installation(With Stringer)
Main Tools Include:
Large push cutter, Infrared ray level instrument, Panel lifter, Screw driver, Wax wires, Level bar, Adz-eye Hammer, Nail, Pencil, Flexible rule, Pedestal adhesive, Tool bag, Broom, et

Position Datum Poi

1.Proper datum point can avoid the waste of room, the best choice is to set theintersection point of two walls which are rectangular as datum poin
2.If there is a ramp at door, or space for door to swing, the best datum point should benear door.
3.If designing or partition drawing has marked datum point,it can be considered as final
Notic:
Datum lin:A straight line paralleled to datum line,the longest distance between datumlevel and datum line is 600
Datum leve: It is a wall which owner requires to be installed with whole floor panel
Vertica:It is a straight line which is vertical to datum line.The largest distance betweenthe vertical line and adjacent wall is 600mm.
Raised Access Floor Installation:
1.At first,cleaning the groun

2. Observe the layout of room, install infrared paralleled scanner, mark paralleled line onhalf waist of wall, then find the lowest and highest point, calculate average value fromground to floor surface(this average value equals to owner’s required installation height), calculate and adjust the pedestal heigh

3.Choose a corner as start point, find a parallel on wall, tie two paralleled wax wire595mm from wall,the wax wires are hard to break and extend, two wires must bevertically distribute

4.While pulling the paralleled line, screw the four pedestals. After confirming the heightand placing the first floor, stringers and pedestals must be fix with screws, use level barto adjust floor, at last, lock nuts on the pedestal

5.When the first floor is adjusted paralleled, vertically place two lines of floors in thedirection of wax lines.
Note: black glued edges between floors must be aligned and straigh

6.After vertically placing two rows of floors, find a direction(can not be vertically placed)
Note: each edge should remain one row for final cutting and placing, while paving, floorscan not be bended which may affect flatness
7.After placing last row, iron angles in each corner may be firstly fixed, then cut all-roundfloor. Normally floor of last row should be cut, the cut side can be put on flat headpedestal directly, there is no need to use stringer for last row.
Noted: iron angle should be paralleled to installed floor. Backing if iron angle shouldpossess a support(flitch or angle bar

8 .After fixing iron angle, precisely measure the size of floor,then cut and place it. If needplacing plug, use cutting machine to open holes as per actual dimensio

9.After placing floor,check on time,adjust the parts which are not flat. Finally fill in gapwhen cutting with glass cement
10.If the temperature difference between day and night at construction site is big,(highaltitude,temperate area or arctic area), all the edges should remain 3mm ga
Check & Acceptanc:
After placing all floors, check whole project carefully and improve all the imperfect parts.
1.When walking on the floor,no noise,no movement and good stability.
2.Clean surface, clear pattern, mean color and joint, straight edged, no crack, no cornerdropping, no lack of edge etc.
3.All materials of joint edge and dimensions should follow design requirement andconstruction regulation.
Installation Video: https://www.youtube.com/watch?v=UZxGoXmih
Installation Effec:

 CopyRight © 2024 - Changzhou Huateng Access Floor Co., LTDAll rights reserved
